
Crash Course: Maple Trees
Apr 07, 2025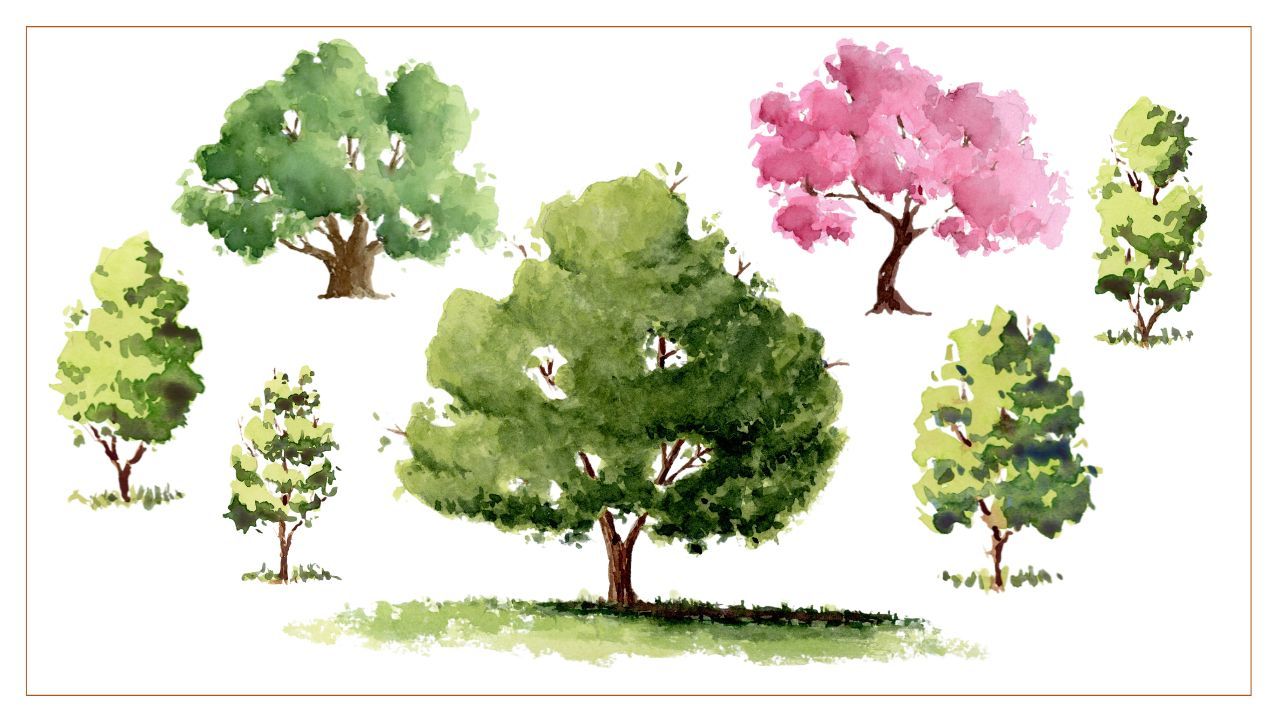
As the warmer spring weather kicks into gear, many temperate neighborhoods are becoming green again! Bulbs are coming up, early blooms are starting to open, and many trees are just about to leaf out. So what better subject for our first crash course than the quintessential maple tree? Known for their beautiful foliage come spring and fall, maple trees come in all shapes and sizes and there are over 100 different species to choose from!
Why Maple?
Before we dive in, you may be wondering why we’re focusing in on such a specific type of tree. It’s a great point—rarely, if ever, am I asked how to paint a maple tree. Instead, one of the most common requests is how to paint a tree…as in any one. However, it’s difficult to teach (or learn) with just about any tree in mind. Instead, it’s easier to pick a specific subject and then focus on the techniques necessary to paint it (and others like it).
First and foremost, when you set out to paint a tree, it’s important to decide what kind of tree. Anyone can draw a cloud on a stick and call it a tree, but for a more detailed product, you need a more thoughtful approach to your subject matter. Don’t just dream up an amorphous tree shape and try to hold it in your mind while you paint. Instead, take a peek out your window, open a search engine, or peruse a photobook for specific inspiration and carefully observe all the shapes even a single genus of trees can have.
Because of their plentiful colors, deciduous trees can be especially fun to paint in watercolor. And when it comes to vibrant deciduous trees, almost no tree tops the maple. For the sake of this tutorial, I’ll be focusing on the Sugar Maple, a classic North American tree that produces maple syrup and turns a variety of stunning shades. In spring, bright lime green buds mix with yellow-green flowers. By summer, the leaves darken to a rich green, and their staggered branches create plenty of hollows for interesting shadows and highlights. And in the fall, you can find yellows, oranges, and reds all on the same tree at the same time. (Talk about the perfect subject to practice wet-on-wet painting!)
The Sugar Maple is a fantastic subject to add to your painting repertoire as its shape and coloring can be easily adapted to create other deciduous trees, from oaks to elms. Adjust the positioning of the branches and the colors, and you’ll soon be painting a forest of unique trees.
Step-by-Step Sugar Maple
I typically break painting trees into five main stages: drawing, establishing the major shapes, painting the trunk and branches, refining the shadows, and detailing. I like to work with glazes (no surprise there), letting each layer further refine the shape to create a three-dimensional, representational tree.
Note that throughout this tutorial, I suggest using one large and one medium brush with a nice pointed tip. For larger areas, I use my Escoda® Perla Round Size 14, which helps me keep my brushstrokes loose. For adding the final details at the end of my painting, I like my Escoda Perla Round Size 8. While it can be tempting to use smaller brushes for subjects like trees, doing so can make you get caught up in the details and force more stiff and stilted strokes. Instead, if you’re worried about creating tapered branches, practice removing the pressure from your brush and letting the tip trail on scrap paper. (And remember that branches aren’t perfectly smooth, so your brushstrokes don’t need to be either!)
Step 1: Sketch
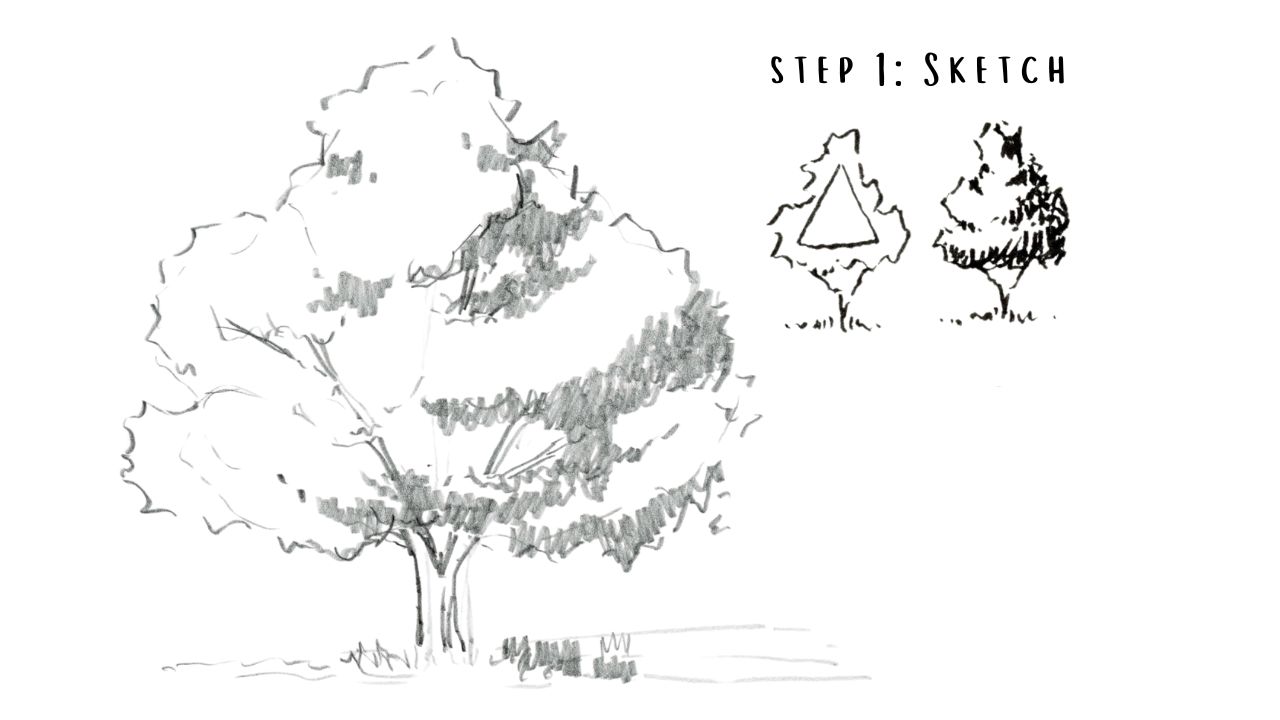
Sugar Maples can grow in a variety of shapes, but they often have an almost triangular appearance, where the top is thinner than the base. Using a pencil, create a rough outline of the foliage, leaving little gaps for branches and or the sky to peek through. Draw the trunk, letting it split off into two central branches before it reaches the foliage. As you add the branches in the openings you left in the leaves, keep in mind that tree branches tend to grow upward and outward in “v’s;” so play with different angles. Add a few quick lines at the base of the tree to represent the grass on the ground before adding your shadows. Picture the light source is on the upper left, so concentrate the shadows on the lower right side of the tree’s leaves, leaving some spaces between the shadows to represent the stacked branches. Then add a cast shadow on the ground below the right side of the foliage.
Once you’re happy with your sketch, use an eraser to remove the dark pencil marks. You should be left with a light outline that will help guide you when you start putting down your paint.
Step 2: Establish the Shape
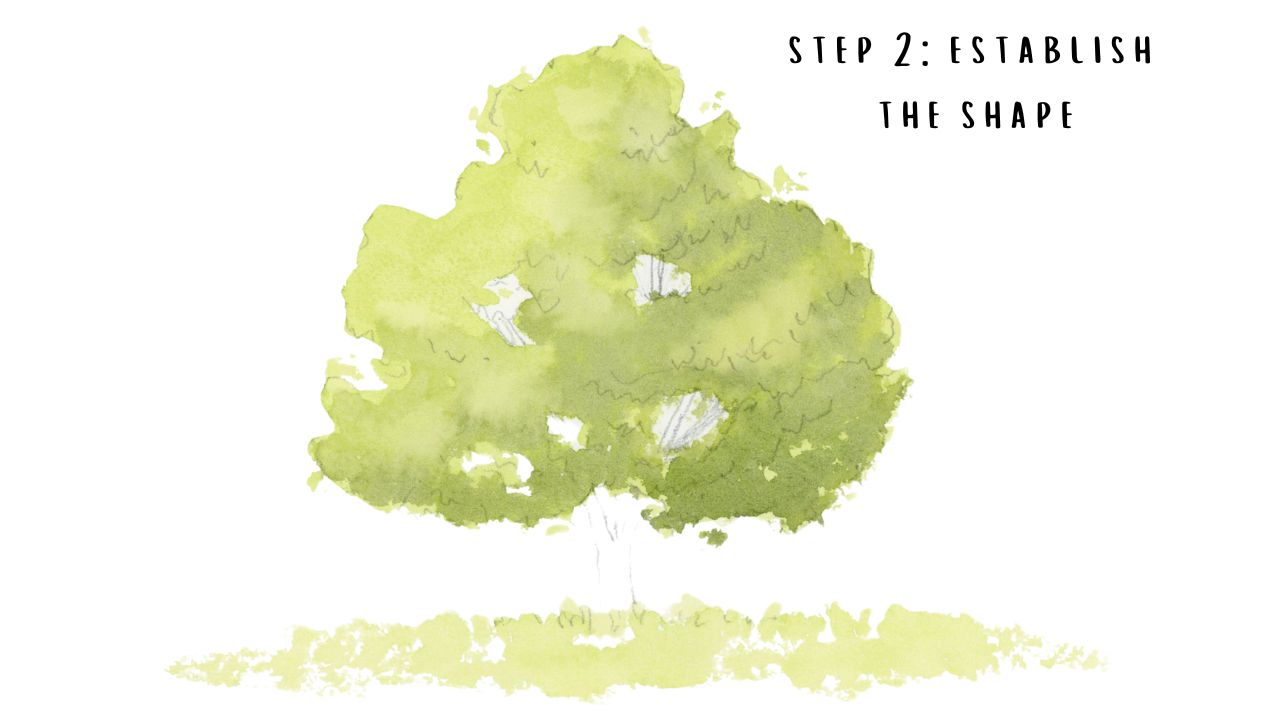
With your first layer of paint, you want to establish the general shape of the leaves in a light value. For this springtime Sugar Maple, I started with a warm green mixed with yellow. Apply the light green wash on the foliage, avoiding the gaps you marked in your sketch. While that’s still wet, apply a darker green to the shadow areas focused on the right side of the tree. There are many ways to darken a color. When it comes to mixing natural shadows, I often recommend using the complementary color of your main hue (in this case, red is the complementary color of green).
Then, go back to your lighter value and add a few tiny dots to the edge of your tree to represent loose leaves; this helps break up the edge so the foliage doesn’t feel like a static, solid object. Still using the light green color, paint the grass below the tree, leaving some gaps in the wash. Let everything dry fully before moving on.
Step 3: Paint the Trunk and Branches
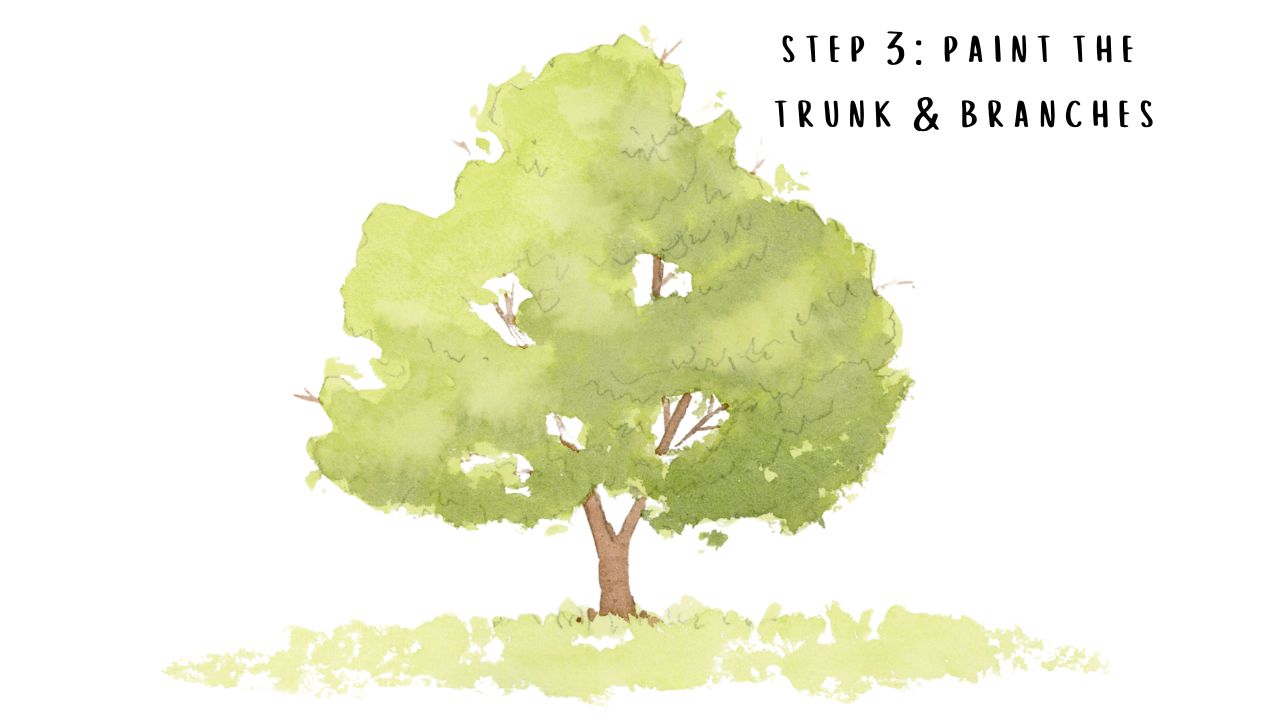
Once your first layer is dry, use the tip of your brush to paint the trunk and branches with a medium brown. The value can stay relatively light since we’ll continue to glaze on details as we go. Don’t forget to paint the base of the tree with a few exposed roots. This helps ground your painting (and your tree!).
Step 4: Refine the Shadows
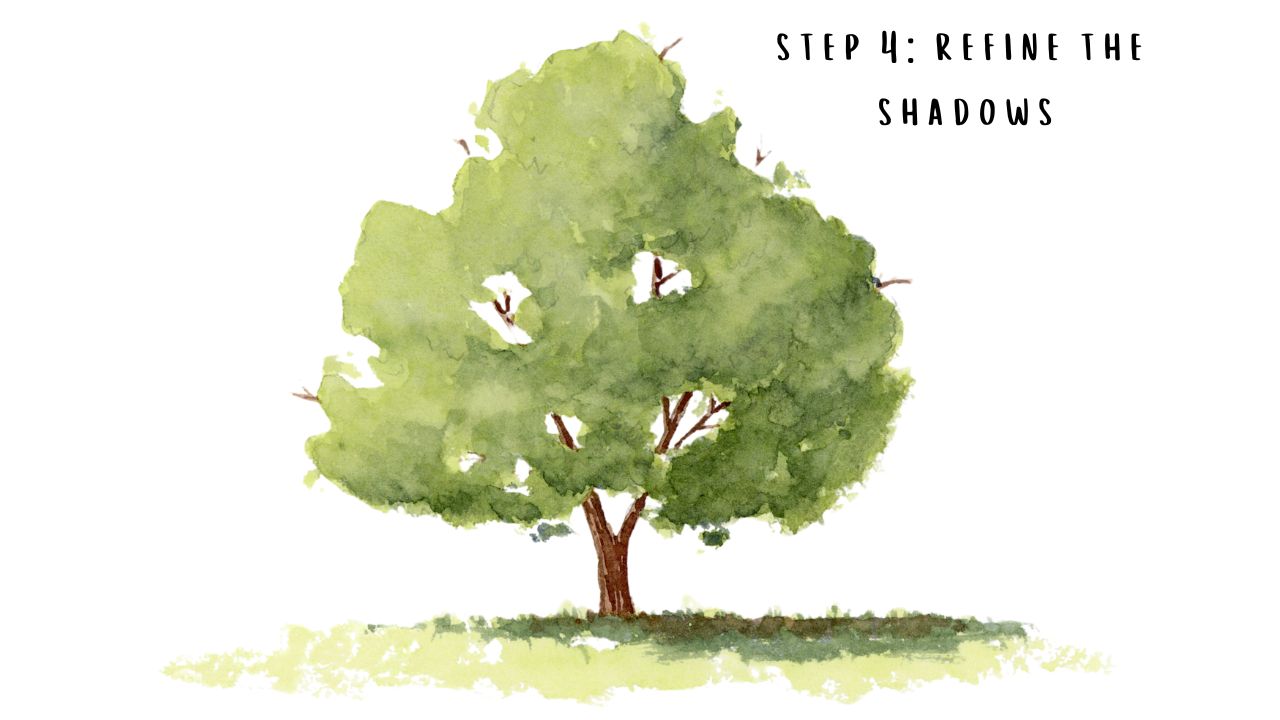
Continue building up the shaded areas in the leaves with a darker green. Play around with different shades, adding in reds and blues to adjust the temperature and saturation. As you do, soften the edges with a damp brush to create a smooth transition between colors.
While the leaves dry, add a darker value of brown to the right side of the trunk and branches. Then, using the same green for the foliage, darken the cast shadow on the ground. Extend the cast shadow slightly to the left of the trunk, but keep the majority of it below the foliage on the right. For additional depth, I used the darker green on the cast shadow first before dripping in some of the brown. Especially with natural subjects like trees and flowers, don’t be afraid to experiment with unique shades. Nooks and crannies in trees or shadows in grass, aren’t just one flat color.
Step 5: Details
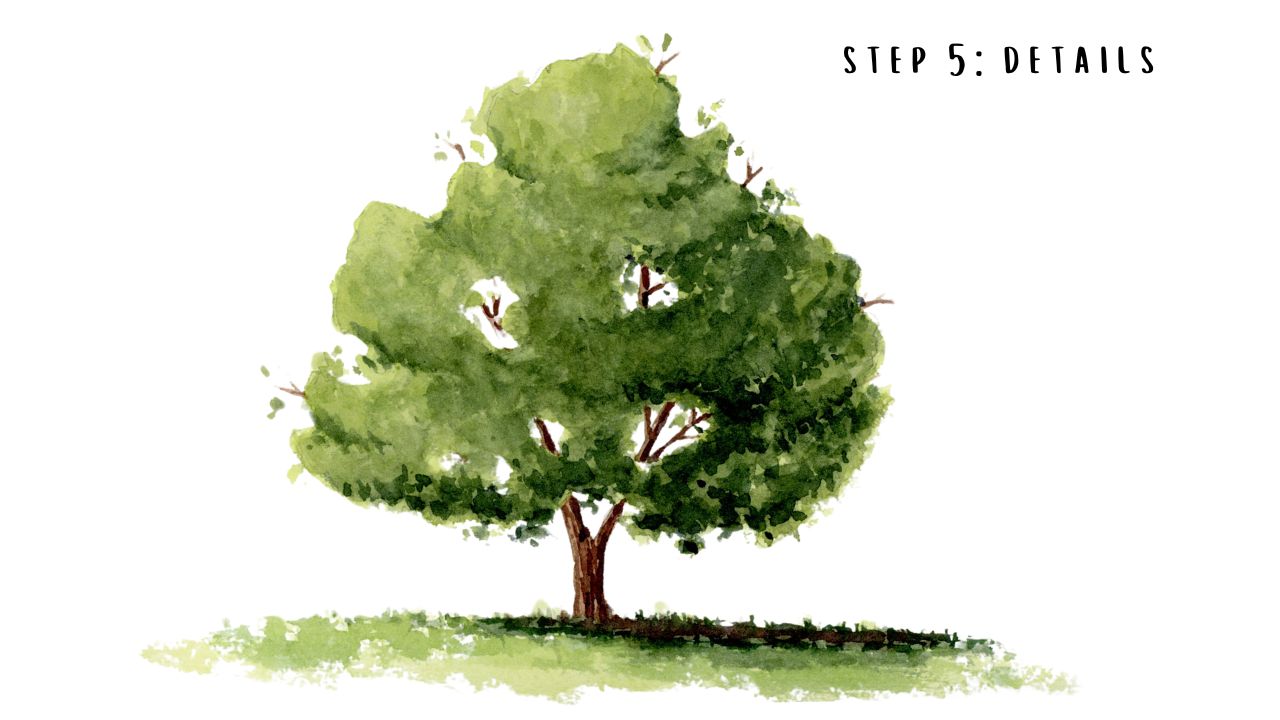
In your final layer, continue building the shadows (both in the foliage and the cast shadow) with an even darker value of green. Use a dotting motion in the leaves, letting the edges stay hard; letting texture shine through, especially in the final layer of a painting, helps add character, visual interest, and realism. For the cast shadow, you can add the darker green using a dry brush for added texture, if you’d like.
Now that you’ve painted this spring Sugar Maple in shades of green, mix it up and try painting one in fall colors! Or brave the branches and practice line work with one in winter.
Branching Out: Painting Different Deciduous Trees
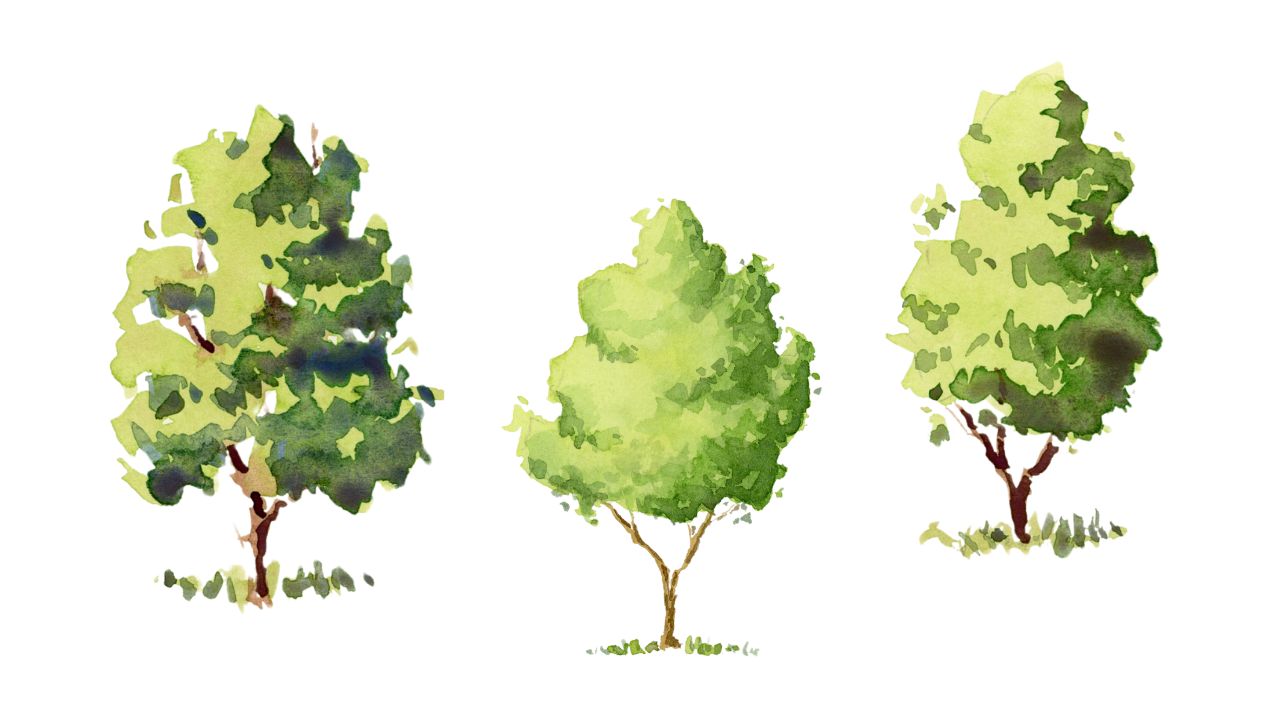
Once you’ve painted your Sugar Maple, you’ve got all the skills you need to paint all kinds of similar deciduous trees (while coniferous trees use some of the same techniques, their overall shape and textures tend to differ)! Adjusting the general foliage shape, number of leaf gaps, branch and trunk thickness, and colors will allow you to create a diverse forest.
Oak

Especially from far away, oaks and many North American maples have similar appearances, though oaks tend to be larger and have thicker trunks and branches. Oak foliage also tends to be a bit rounder than maples, with the tip coming to less of a single defined point. Once you’ve painted a few Sugar Maples, a species of oak is a great next subject. It’s also a wonderful tree to practice painting if you’re worried about creating thin or delicate branches.
Birch
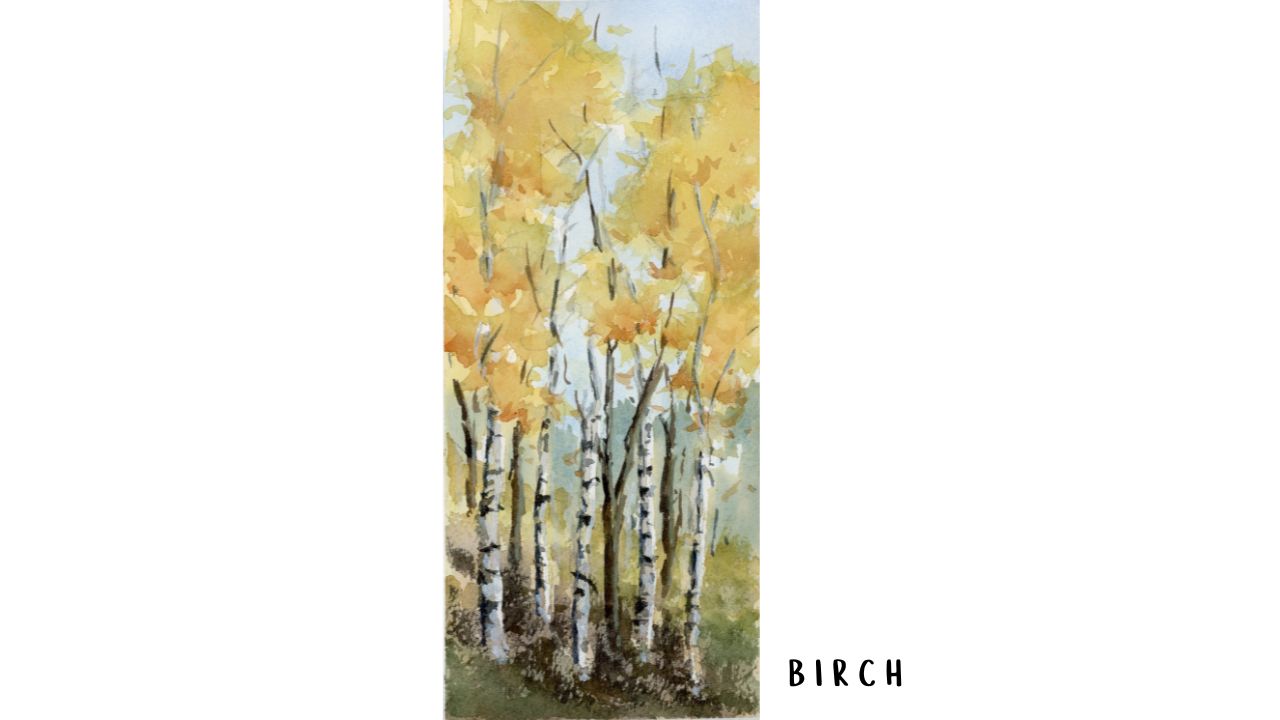
Just as with oaks, if you adjust the Sugar Maple’s shape and colors, you can paint a birch tree. Birch trees tend to be more slender and upright than many maples and oaks. Depending on the exact species, the trunk texture and size also varies. If you’re looking for a fun challenge, paint a Paper Birch, known for its light-colored bark. They can be a great way to practice painting unique textures and the color white in watercolor.
Cherry Blossom
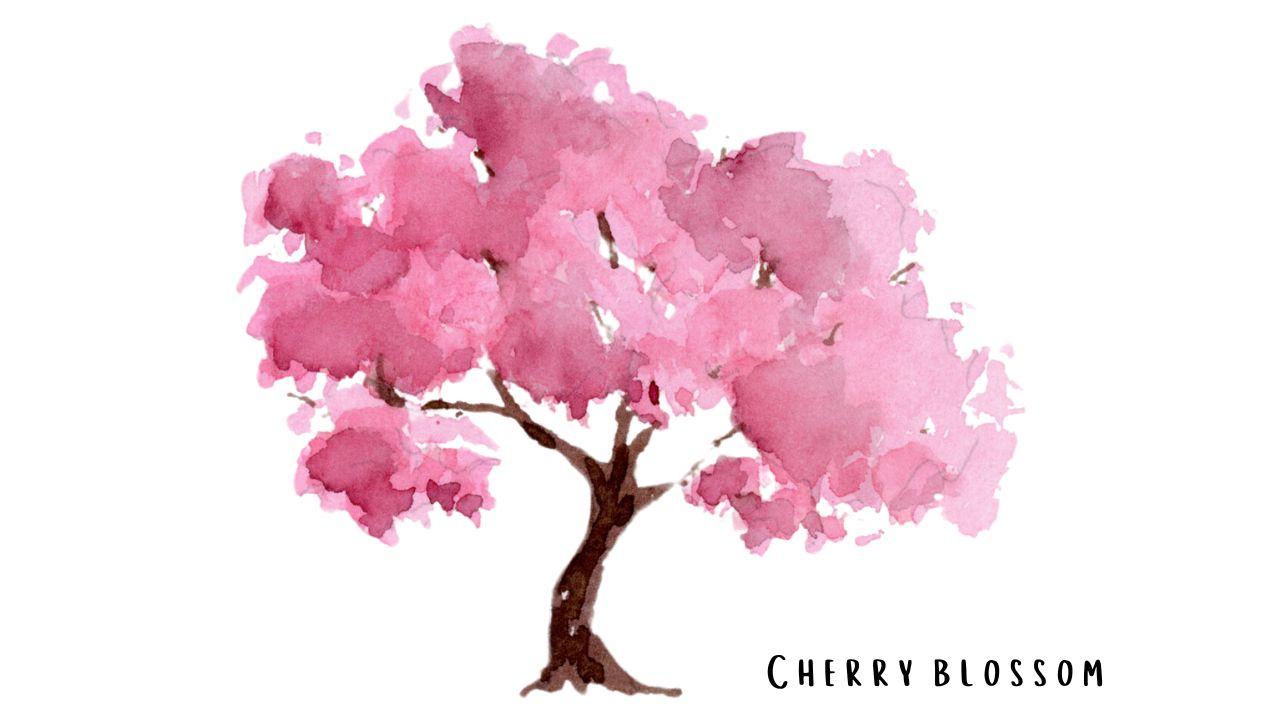
If you keep a similar shape to your Sugar Maple but use pinks and a darker brown for the trunk and branches, you can easily create a blooming cherry blossom. To really bring home the effect of bunches of blooms, instead of layering your paints on with a brush, I love to dab the paint on with an artist (or ocean) sponge. Use the same process as described for the Sugar Maple (starting with a lighter value to define the general shape and then refining with subsequent, darker layers) only with your sponge to create a lovely stippled look that works great for flowers and foliage alike. As you lay down the paint, continually rotate the sponge (or use a different one) to get a variety of markings. Preserve plenty of open spaces for the thin branches of the tree. There are hundreds of ornamental cherry varieties, so you can play with different shapes and shades to paint different species.
Want a particular topic covered here?
Fill out the form below and let me know what you want to learn more about.
I hate SPAM. I will never sell your information, for any reason.

